
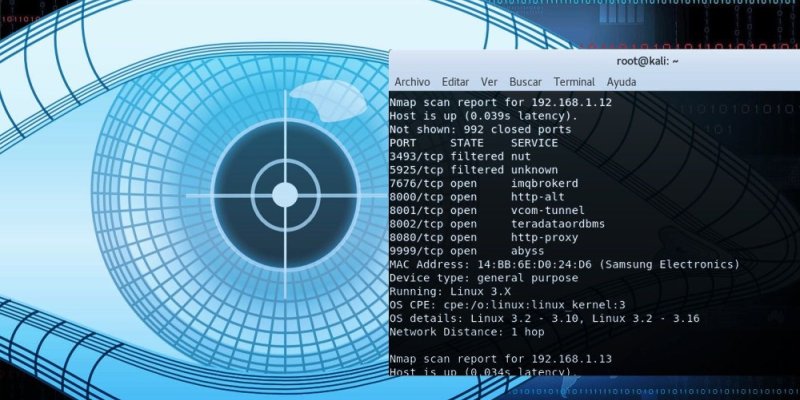
Nmap (Network Mapper) is a free, open-source tool used to discover hosts and services on a computer network. Whether you’re a sysadmin keeping an inventory, a security student learning how networks behave, or a developer troubleshooting connectivity, Nmap gives a clear view of what’s reachable, which ports are open, and what services are running. This guide covers what Nmap does, core concepts, simple installation steps, essential commands with examples, how to read results, and safe, ethical scanning practices to get you started.
What is Nmap?
Nmap is a command-line utility (with an optional GUI called Zenmap) that performs host discovery, port scanning, service/version detection, and basic vulnerability scripting. Built for speed and flexibility, it runs on Linux, macOS, and Windows. At its core, Nmap sends carefully crafted packets to targets and analyzes responses to infer which hosts are up, which ports accept connections, and often what software and operating system are running. Common use cases include network inventory, security auditing, troubleshooting firewall rules, and supporting penetration tests. Nmap’s scripting engine (NSE) adds extensibility, letting users run scripts that check for specific misconfigurations, known issues, or gather extra information.
Basic concepts
-
Host discovery: Identifies which IPs in a range are alive (often via ICMP, TCP/ACK, or ARP).
-
Port scanning: Determines which TCP or UDP ports are open, closed, or filtered.
-
Scan types: TCP SYN scan (
-sS) is fast and stealthy; TCP connect (-sT) completes the full handshake; UDP scans (-sU) probe UDP services. -
Service/version detection (
-sV): Connects to open ports to probe and identify running services and versions. -
OS detection (
-O): Uses TCP/IP stack fingerprints to guess the target OS with an accuracy estimate. -
Nmap Scripting Engine (NSE): Runs Lua scripts for tasks like vulnerability checks, brute-force, or information discovery.
-
Timing and evasion: Timing templates (
-T0…-T5) adjust speed and stealth; flags like--source-portor decoys exist but should be used responsibly.
Installing Nmap
Windows
- Download the installer
- Visit the official Nmap download page and download the latest Windows installer (usually named like
nmap-<version>-setup.exe).
- Run the installer
-
Double-click the downloaded
.exe. -
Follow the setup wizard: Accept the license, choose components (keep defaults), and pick an install location.
- Add Nmap to PATH (optional, usually offered by installer)
-
If the installer offers "Add to PATH", enable it so you can run
nmapfrom any Command Prompt or PowerShell. -
If not added automatically:
-
Open Start → Settings → System → About → Advanced system settings → Environment Variables.
-
Under "System variables" edit
Path→ New → add the Nmap install folder (e.g.,C:\Program Files (x86)\Nmap). -
Save and restart your terminal.
-
- Verify installation
nmap --version- You should see Nmap version output.
- Optional: Install Zenmap (GUI)
- The installer may include Zenmap; enable it during install or download separately. Run Zenmap from Start Menu.
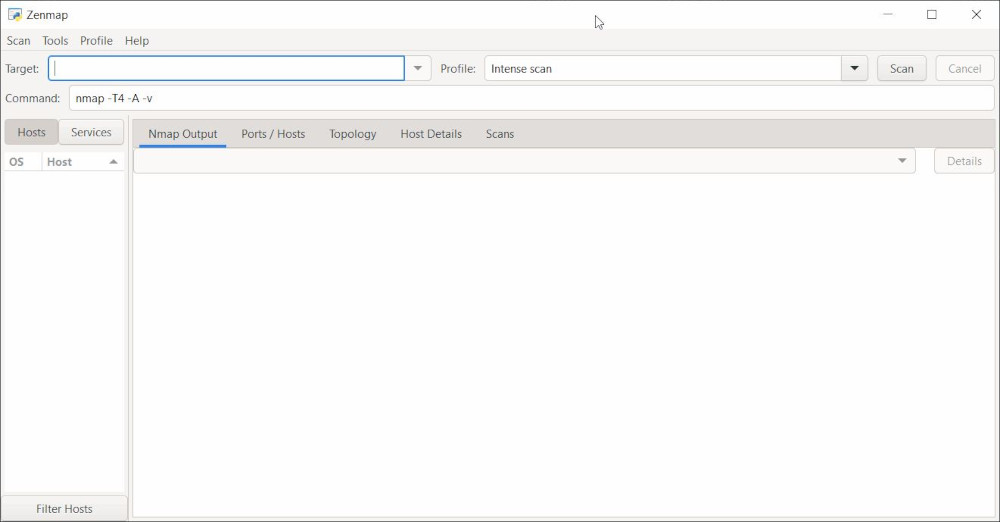 Zenmap GUI
Linux
Debian/Ubuntu
sudo apt update
sudo apt install -y nmap
Fedora
sudo dnf install -y nmapCentOS / RHEL (8+)
sudo dnf install -y nmapopenSUSE
sudo zypper refresh
sudo zypper install -y nmap
macOS
Using Homebrew (recommended)
- Install Homebrew if you don't have it:
/bin/bash -c "$(curl -fsSL https://raw.githubusercontent.com/Homebrew/install/HEAD/install.sh)"- Install Nmap:
brew update
brew install nmap
Using MacPorts (alternative)
-
Install MacPorts from https://www.macports.org/ if needed.
-
Install Nmap:
sudo port selfupdate
sudo port install nmap
Essential commands with examples
(Replace IPs with your target, e.g., a device on your home network.)
- Ping sweep (host discovery):
nmap -sn 192.168.1.0/24- TCP SYN (stealth) scan of common ports:
nmap -sS 192.168.1.10- TCP connect scan (no raw sockets needed):
nmap -sT 192.168.1.10- UDP scan:
nmap -sU 192.168.1.10- Service/version detection:
nmap -sV 192.168.1.10- OS detection:
nmap -O 192.168.1.10- Aggressive scan (combines multiple checks):
nmap -A 192.168.1.10- Specific port range:
nmap -p 1-65535 192.168.1.10- Save output:
nmap -oN scan.txt 192.168.1.0/24- Run vulnerability scripts:
nmap --script vuln 192.168.1.10Interpretation basics
Nmap output starts with scanned targets, then a list of ports and their states:
-
open — application is accepting connections.
-
closed — reachable but no application listening.
-
filtered — packet filtering (e.g., firewall) prevented a response.
-
open|filtered and closed|filtered — used for ambiguous UDP or firewall responses.
Service lines show the port/proto, state, service name, and any version info when available (from -sV). OS detection yields a best-guess with a probability; treat it as indicative, not definitive. Timing options and network conditions affect accuracy; slower scans (-T0..-T2) are less likely to miss hosts behind IDS or rate-limited targets.
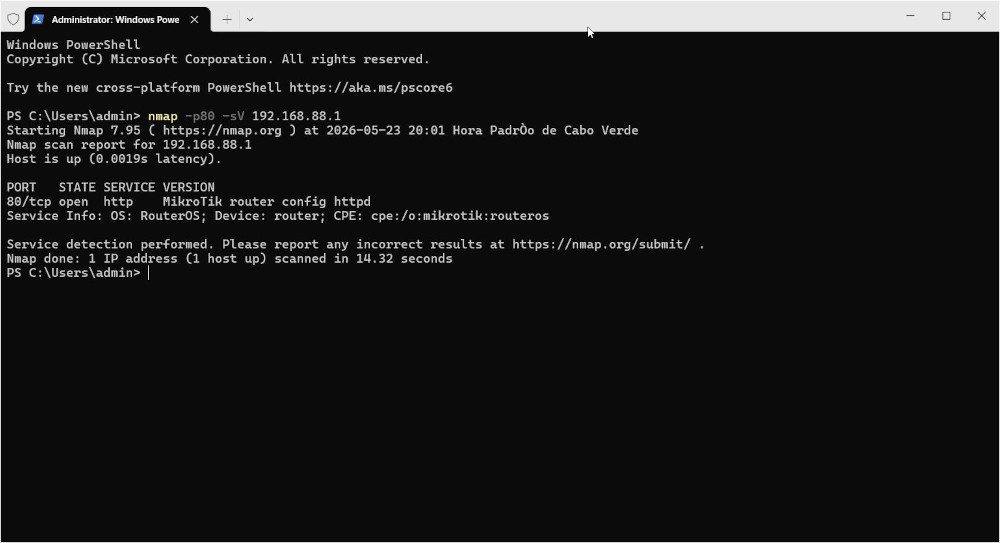 Here i scanned only port 80 of a Mikrotik router with version detection (-sV)
Best practices and safety
-
Authorization: Always obtain explicit permission before scanning networks you don’t own.
-
Scope: Start with limited scans and increase scope: ping sweep, then targeted port scans.
-
Timing: Use timing templates to avoid overloading networks:
-T2for cautious,-T4for local LAN speed. -
Verification: Combine Nmap findings with logs and other tools.
-
Alerting: Be mindful that scanning can trigger IDS/IPS alerts.
-
Documentation: Save and document scans for repeatability and reporting.
When to use Nmap vs other tools
-
Use Nmap for host discovery, port/service mapping, and lightweight scripted checks.
-
Use Masscan for extremely fast port sweeps at internet scale, then feed hits to Nmap for details.
-
Use Nessus/OpenVAS for comprehensive CVE checks and compliance reporting.
-
Use Wireshark when you need packet-level visibility rather than host/service enumeration.
Next steps and resources
Practice in a safe lab: set up a couple of VMs (e.g., Kali and Metasploitable) and scan them. Read the Nmap book "Nmap Network Scanning" and the official manpage (nmap --help and man nmap). Try writing simple NSE scripts for repeated checks. Keep ethics and authorization at the forefront as you learn.
Conclusion
Nmap is a powerful, flexible toolkit for understanding networked systems. For beginners, mastering the basic scan types, interpreting results, and following safe practices provides a strong foundation for network troubleshooting and security work. Try a few scans on your home lab and build from there.